
If you play the same groove with two fingers, a pick using downstrokes, and a pick using alternating strokes, you will hear three different sounds from the same bass, the same amp and the same notes. The differences in attack, evenness and speed come from the right hand. That makes right hand technique for bass guitar a choice about tone and efficiency, and a beginner can make that choice on purpose.
This article uses one simple groove and four picking patterns to compare the approaches. Play each pattern, listen to what changes, and finish with a 10-minute routine that covers all of them.
Why your right hand shapes your tone more than your bass does
Every note starts with a string being set in motion, and your right hand decides how. A soft fingertip on the fleshy part of the pad produces a round note with a slow attack. A hard plastic pick produces a sharper start with more high-frequency click. The string, pickups and amp then shape that signal, but they can only work with what the hand gave them.
Three things in your right hand change the sound:
- The tool: fingertip, finger pad or pick.
- The place: how close to the bridge or the neck you play.
- The force and angle: how hard you hit and how deeply you dig into the string.
Strings matter too, and the difference between flatwound and roundwound strings is covered in this comparison. Still, if your notes sound uneven, no string change will fix a hand that plays some notes loud and others soft.
The groove used throughout
To compare approaches fairly, every pattern in this article uses the same one-bar groove in A, played as eight even eighth notes. It uses three notes:
- Root (A): E string, 5th fret.
- Fifth (E): A string, 7th fret.
- Octave (A): D string, 7th fret.
The bar goes: root, root, root, fifth, root, root, octave, fifth. Count it “1 & 2 & 3 & 4 &”. The groove stays on the root for most of the bar, then crosses to another string on the last two notes of each half. That gives you repeated notes on one string, which tests evenness, and string changes, which test accuracy.
Two-finger alternation: the pattern to build first
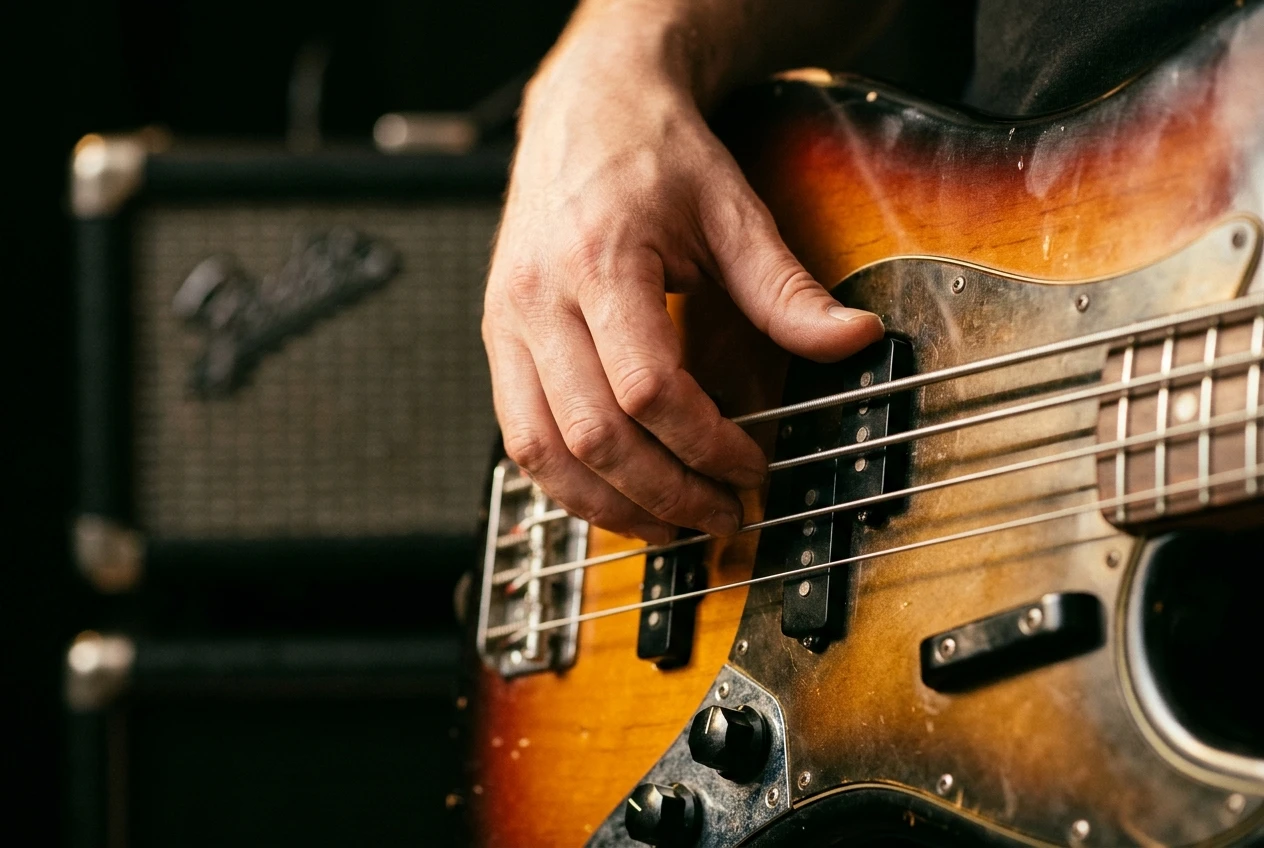
Pattern 1 is the groove played with your index and middle fingers alternating, one finger per note: index, middle, index, middle, and so on through all eight notes. Over a repeating bar the fingers keep the same order, so the bar always begins with the index finger.
Alternation is the base of most fingerstyle playing because each finger gets a moment of rest while the other works. At slow tempos you will not notice this. At faster tempos, a player who uses only the index finger tires quickly, while a player who alternates can keep going. Alternation also gives you a way to play fast notes without squeezing your hand, which is where most tension comes from.
How to set it up
Rest your thumb on the pickup or on the string below the one you are playing. Let your fingers curl so that the fingertips pluck across the string. Pull the string slightly toward you and let it go, instead of lifting it up off the fretboard. After each pluck, your finger should come to rest on the next string down, or on the thumb if you are on the lowest string.
Start slowly. A common beginner mistake is to speed up before the notes are even. Play Pattern 1 at a tempo where the two fingers sound identical, then raise it only when they do. The page on finger style bass techniques covers the wider fingerstyle toolkit if you want more detail on hand shape.
What you will hear
Pattern 1 gives the softest, roundest sound of the four. The notes blend into each other, which suits grooves where the bass needs to sit underneath guitars and drums rather than cut through them. If your index and middle fingers sound different, the bar will have an odd lilt. That unevenness is the first thing to fix.
Playing with a pick: downstrokes versus alternate picking
A pick adds attack and brightness. It also changes the movement, since one hand motion now produces every note. Two approaches exist, and they feel and sound different.
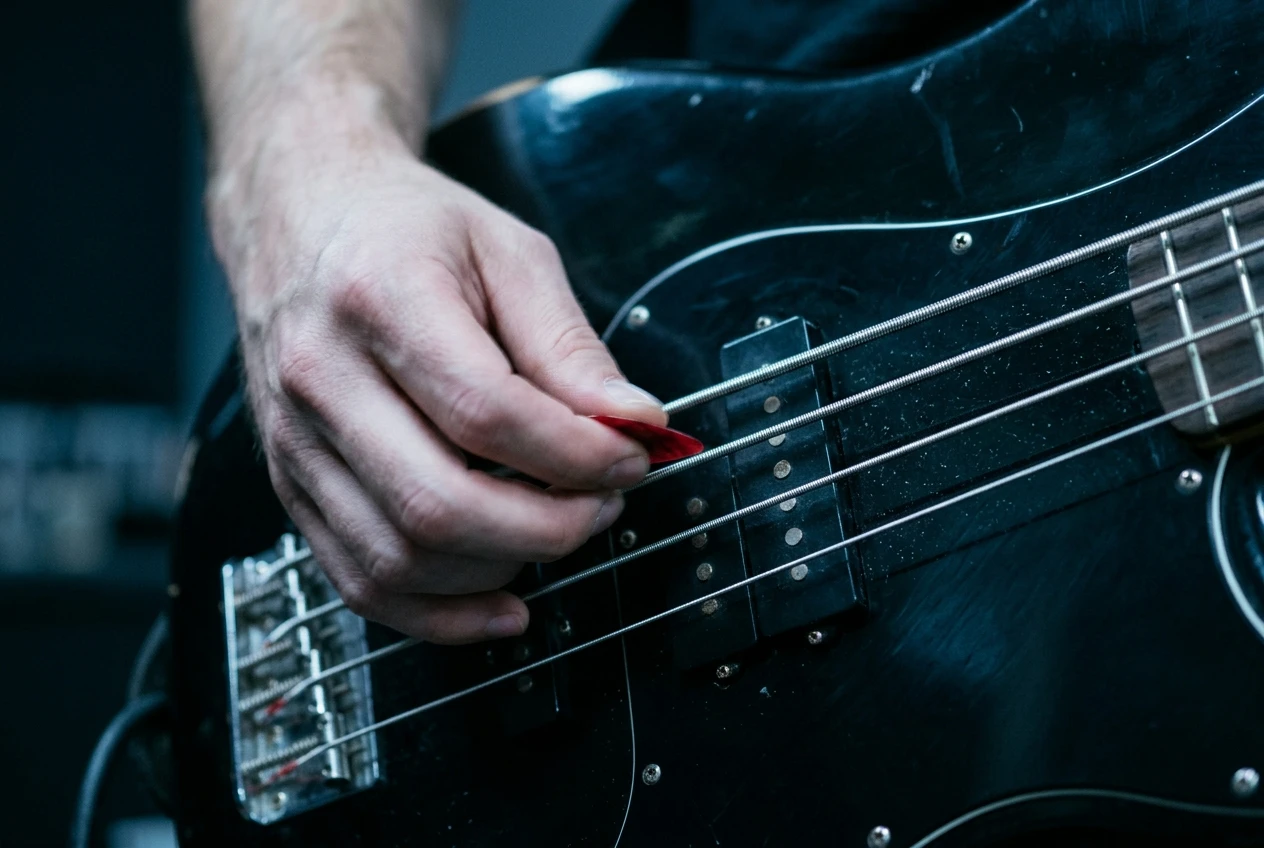
Pattern 2: all downstrokes
Pattern 2 plays every note of the groove with a downstroke, moving the pick from the thicker strings toward the thinner ones. You never change direction on the repeated root notes, so each one gets the same angle and force.
This is a good first pick pattern because it is consistent. Each note starts the same way, so evenness comes quickly. Downstrokes also tend to sound a little heavier and more forceful, which is why they are used in rock and punk bass lines. The limit is speed. Because your hand has to return to the top after every note, fast tempos make the arm work harder, and the shoulder and forearm tense up first.
Pattern 3: alternate picking
Pattern 3 plays the same groove with strokes that alternate down, up, down, up. On the downbeats (“1”, “2”, “3”, “4”) you play a downstroke, and on the “&” you play an upstroke. The motion becomes a continuous swing from the wrist, with no pause between notes.
Alternate picking is more efficient at higher speeds because the hand is always moving in the direction it needs to go. The tradeoff is evenness. Upstrokes often come out quieter or thinner than downstrokes, and the groove sounds like it limps. Beginners also tend to lose track of the pattern when the string changes. Keep the rule fixed: downbeats get downstrokes, “&” gets upstrokes, whatever string the note is on.
Which should you choose?
Play both at the same tempo and listen. If you want a steady, heavy sound at moderate speeds, downstrokes are a good fit. If you want to play eighth notes quickly with a relaxed arm, alternate picking pays off once the upstrokes match the downstrokes. Many bassists use both depending on the song, so building both is reasonable.
Where to pluck: how position and attack change the sound
Where your right hand plays along the string changes the tone as much as the choice of fingers or pick. This holds for all three approaches.
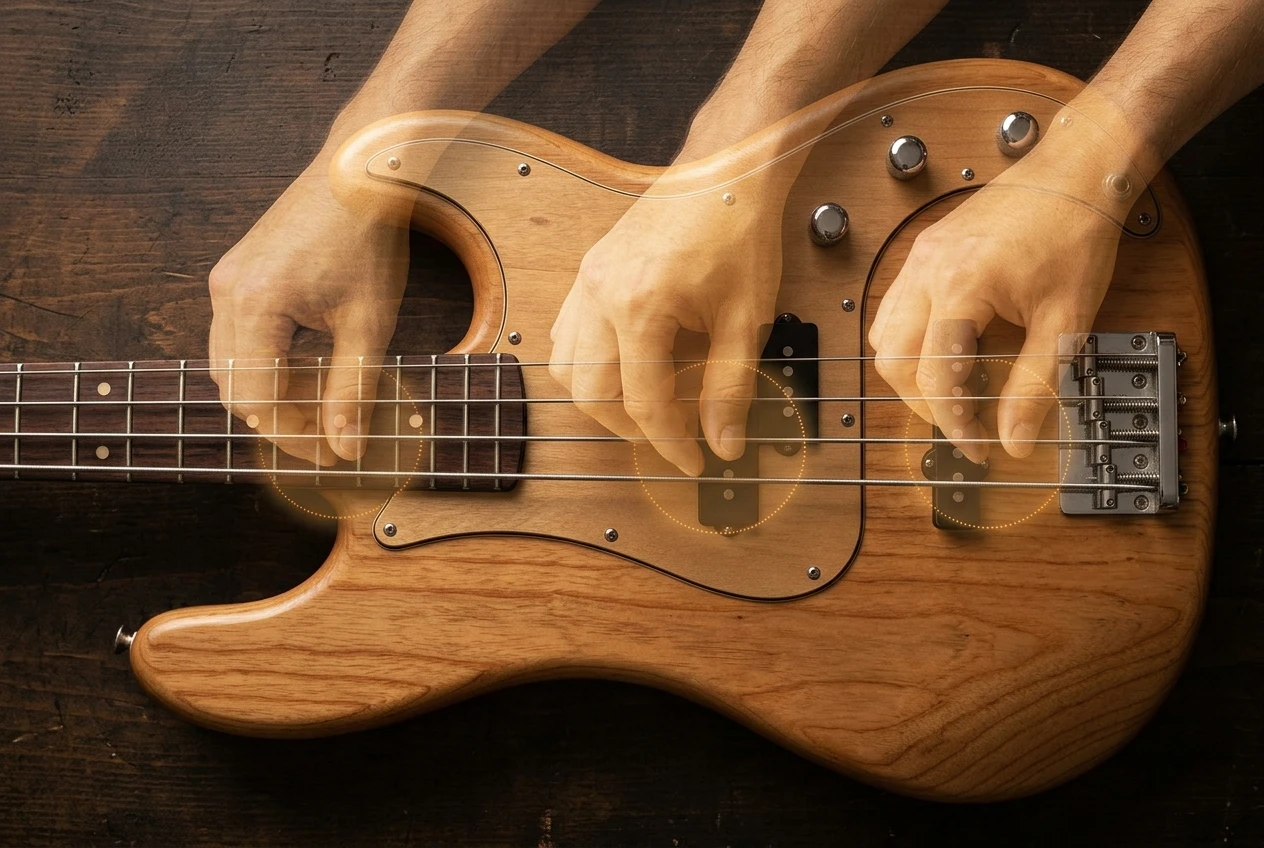
- Near the bridge: the string is tighter and the sound is brighter, with a sharper attack and less sustain in the fundamental.
- Over the pickup nearest the neck, or over the end of the fretboard: the string is looser, so the note is rounder, warmer and fuller.
- In between: a balance of both, which is where most beginners will land.
Try Pattern 1 in three positions: near the bridge, in the middle, and near the neck. Then play Pattern 3 in the same three. Notice that moving your hand changes the pick sound too. A pick near the bridge can sound thin and clicky, while a pick over the neck pickup sounds rounder and less aggressive.
Attack also matters. A light touch gives a softer note with less string rattle. A hard attack makes the string slap against the frets and increases the volume of the high end. Neither is wrong, but you should control it. Aim to play the groove at one consistent volume, then deliberately play it louder or softer.
If you also find that your notes ring when they should stop, work on muting with your left and right hand. The article on how to mute bass guitar strings explains the techniques.
Rake and string-skipping patterns for crossing strings cleanly
Crossing strings is where evenness breaks down. The groove above changes strings on the fourth and seventh notes, and a clumsy change shows up as a late or weak note. Two techniques make the change cleaner.
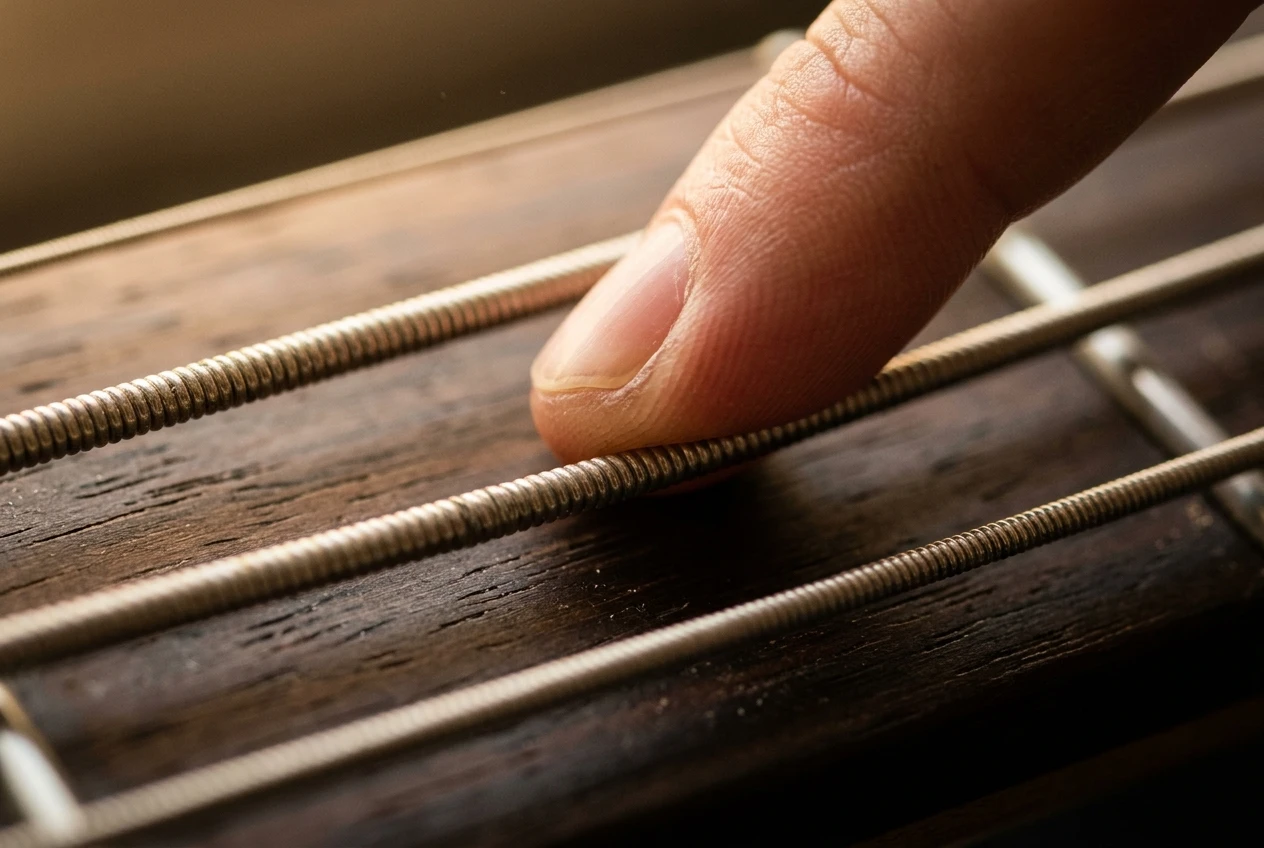
Pattern 4: the rake
A rake uses one finger, or one pick stroke, to play two notes on neighboring strings in a single motion. In the groove, the move from the root on the E string to the fifth on the A string is a good place to try it. Pluck the E string, let the same finger continue its motion, and land on the A string to play the fifth. The finger then rests on the A string or the next string down.
Pattern 4 plays the groove with two-finger alternation, except that the notes at the string change use a rake. A rake works moving from a thicker string to a thinner one, because the finger travels in the direction it was already going. With a pick, the equivalent is a single downstroke that travels through the first string and stops on the second.
Why bother? A rake takes one hand motion instead of two, so the string crossing costs less effort. It also gives the second note a slightly different attack, since the finger arrives already moving. Listen for whether the note sounds even with the rest of the bar. If it jumps out, relax the finger.
String skipping
The octave in the groove sits on the D string, which means skipping over the A string. The risk is that the plucking finger hits the skipped string and makes it sound. To avoid this, keep your fingers close to the strings and use your thumb or the unused fingers to rest on the strings you skip. The left hand also helps: lightly touch the skipped string with a fretting finger.
Practice the skip slowly with just the root and octave, then add the full bar.
Common right-hand habits that slow beginners down
Most speed and tone problems come from a few habits. Check yourself against this list.
- Plucking up off the string: pulling the string up toward the ceiling makes it slap the frets. Pluck across the string, toward the next string down.
- Lifting fingers far from the strings: a big movement costs time. Keep the fingers close to the string after each note.
- Clenching the thumb: a tight thumb tightens the forearm. Let it rest lightly on the pickup or string.
- Always starting with the same finger: if you restart on the index finger after every rest, the middle finger stays weak. Practice starting with the middle finger too.
- Gripping the pick too hard: a tight grip tires the hand and produces a harsh sound. Hold it firmly enough to control it and no more.
- Raising the shoulder: a hunched shoulder is a sign of tension. Drop it and see if the sound changes.
- Playing faster than you can control: speed built on uneven notes only trains the unevenness.
A short warm-up before you play also helps the right hand settle. The list of finger exercises for bass guitar is a useful place to start.
A 10-minute practice routine to lock in all three approaches
This routine covers all four patterns in ten minutes. Use a metronome set to a tempo where every note is clean. For a first session, something like 70 beats per minute is a reasonable choice, but the right tempo is whichever one lets you play evenly. If you need a refresher on setting one up, see how to use a metronome for bass guitar.
- Minutes 0 to 2: warm-up. Play the open A string in eighth notes with two-finger alternation. Aim for equal volume from both fingers, with a loose thumb and shoulder.
- Minutes 2 to 4: Pattern 1. Play the full groove with index and middle fingers. Move your plucking hand to a different position each time through: near the bridge, middle, near the neck.
- Minutes 4 to 6: Patterns 2 and 3. Play the groove with all downstrokes for a minute, then with alternating strokes for a minute. Make the upstrokes as loud as the downstrokes.
- Minutes 6 to 8: Pattern 4 and string skipping. Play the groove with rakes at the string changes, then isolate the root-to-octave skip. Keep the skipped string silent.
- Minutes 8 to 10: compare. Play the groove once in each of the four ways, and note which sounds smoothest and which feels easiest on your arm.
Do not try to master everything in one session. Pick the weakest of the four and give it extra time tomorrow. Over a few weeks, the evenness you build at a slow tempo carries over into faster tempos and into the songs you are learning.
If you are exploring other techniques later, such as thumb and pop, the same principles of relaxed movement and even attack apply, and the slap bass for beginners guide builds on them.
Try the right-hand patterns from this article in Bass Skills Studio, the free practice app, and run them with a metronome so your timing grows alongside your technique.