
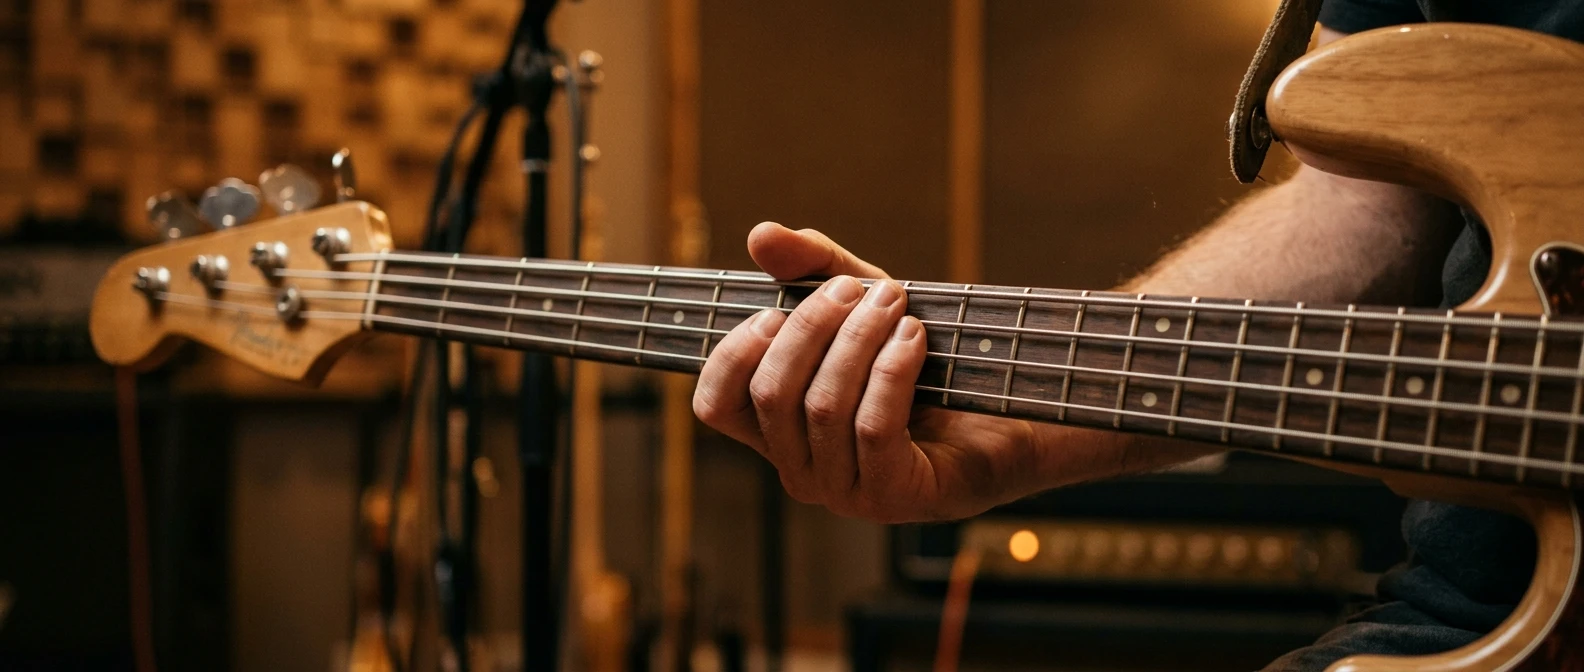
Sore fingers after a practice session feel like proof that you worked hard. Sometimes that is true. More often, the soreness is telling you that your hand is doing something inefficient, not that your fingers are weak or that the ache is a normal toll of getting better. Learning to tell the difference, and conditioning your hand before you play, will save you from the kind of fatigue that stalls progress instead of building it.
This is not a lesson on plucking technique or how to shape a fingerstyle line. For that, see Finger Style Bass Techniques. This is about preparing the hand itself: the warm up, the independence drills, and the stretches that keep your fingers moving cleanly and your joints out of trouble.
Why Sore Hands Usually Mean Bad Movement, Not Weak Fingers
Beginners tend to assume that a sore fretting hand means the fingers need to get stronger, so they push through the soreness with more reps. Most of the time, the real problem is tension: gripping the neck harder than the note requires, pressing with the whole hand instead of just the fingertip, or letting the wrist bend at an angle that strains the tendons running through it.
Weak fingers do exist, especially in a hand that has never fretted a string before. But strength comes quickly with normal practice. What takes longer to fix is the habit of over gripping, because it hides inside playing that otherwise sounds fine. A finger that presses three times harder than necessary will tire and ache long before a correctly placed finger will, no matter how many scales you run.
The drills below are built to retrain movement, not just add reps. That is the distinction that matters for a beginner trying to avoid the ache that gets mistaken for progress.
The Two Minute Warm Up to Run Before Every Session
Before you touch a scale or a song, give your hands two minutes of low intensity movement. The goal is blood flow and joint mobility, not a workout.
- Open and close each hand into a loose fist ten times, slowly.
- Rotate each wrist in both directions, ten rotations each way.
- Rub your palms together until you feel warmth, then gently pull each finger from base to tip.
- Rest your fretting hand on the neck with no pressure and walk your fingers up and down one string, barely touching it, for thirty seconds.
None of this should produce any strain. If your hands feel cold or stiff when you sit down to play, especially in a cold room, this warm up matters more, not less. Skipping it and jumping straight into fast exercises is one of the more common reasons beginners feel soreness that has nothing to do with how much they actually played.
Spider Walks and Chromatic Crawls for Independent Fingers
Once the hand is warm, move to drills that train your fingers to act independently of each other. Beginners naturally let fingers drag or tense up in sympathy with whichever finger is doing the work, which is the root of a lot of sloppy fretting later on.
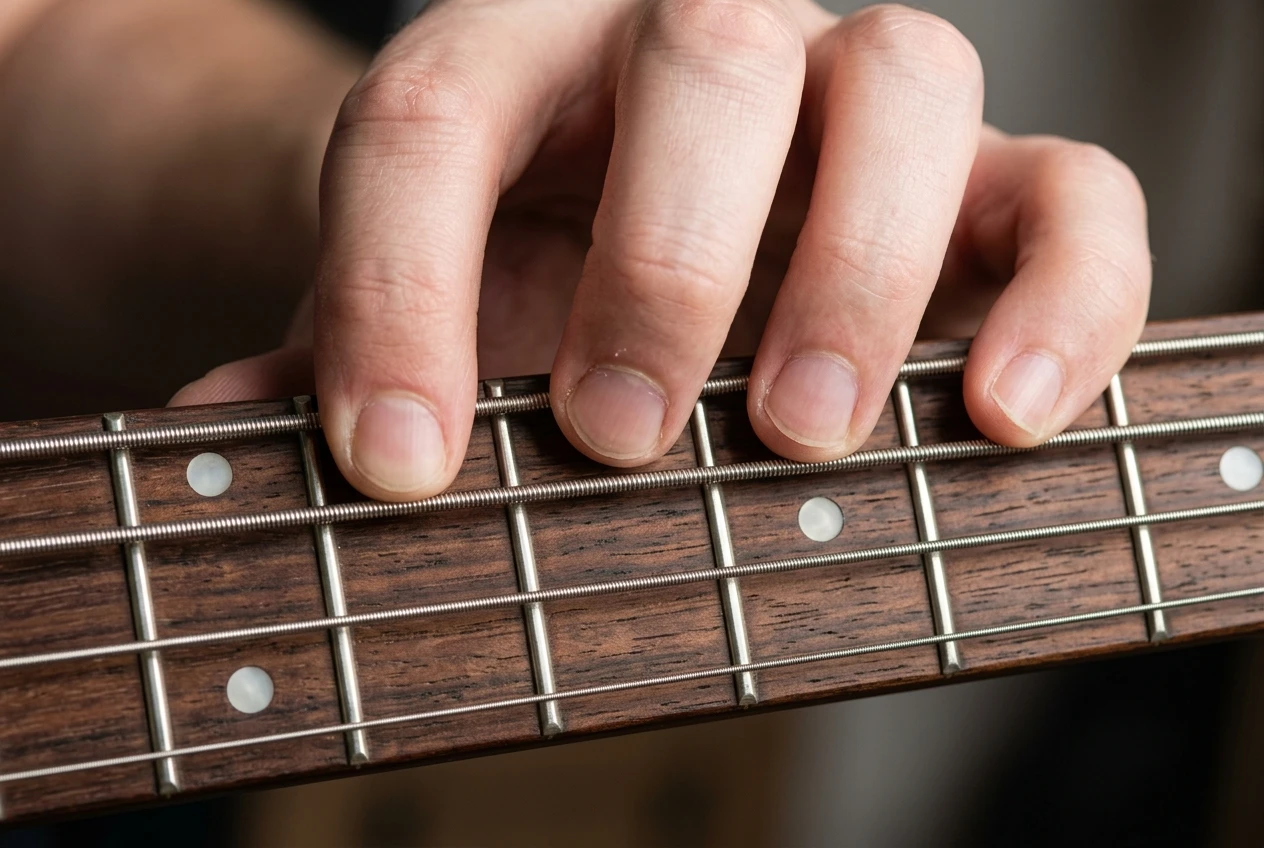
A chromatic crawl is the simplest version: place one finger per fret on a single string, starting with your index finger, and walk up four consecutive frets using one finger at a time, in order. Keep every finger that is not pressing hovering just above the string rather than lifting high away from it. Move to the next string and repeat, then come back down.
A spider walk extends this across two strings instead of one, alternating the pattern so your fingers cross strings while keeping the same one finger per fret assignment. The combination of fretting and crossing forces each finger to work on its own timing, which is exactly the independence that playing basslines later depends on.
Run both drills slowly at first. The purpose is clean separation between fingers, not speed, and speed without separation just reinforces the tension you are trying to remove.
String Crossing Drills That Build Clean Alternation
Finger independence on the fretting hand is only half the picture. Your plucking hand needs its own conditioning, particularly around moving cleanly between strings without the alternation falling apart.
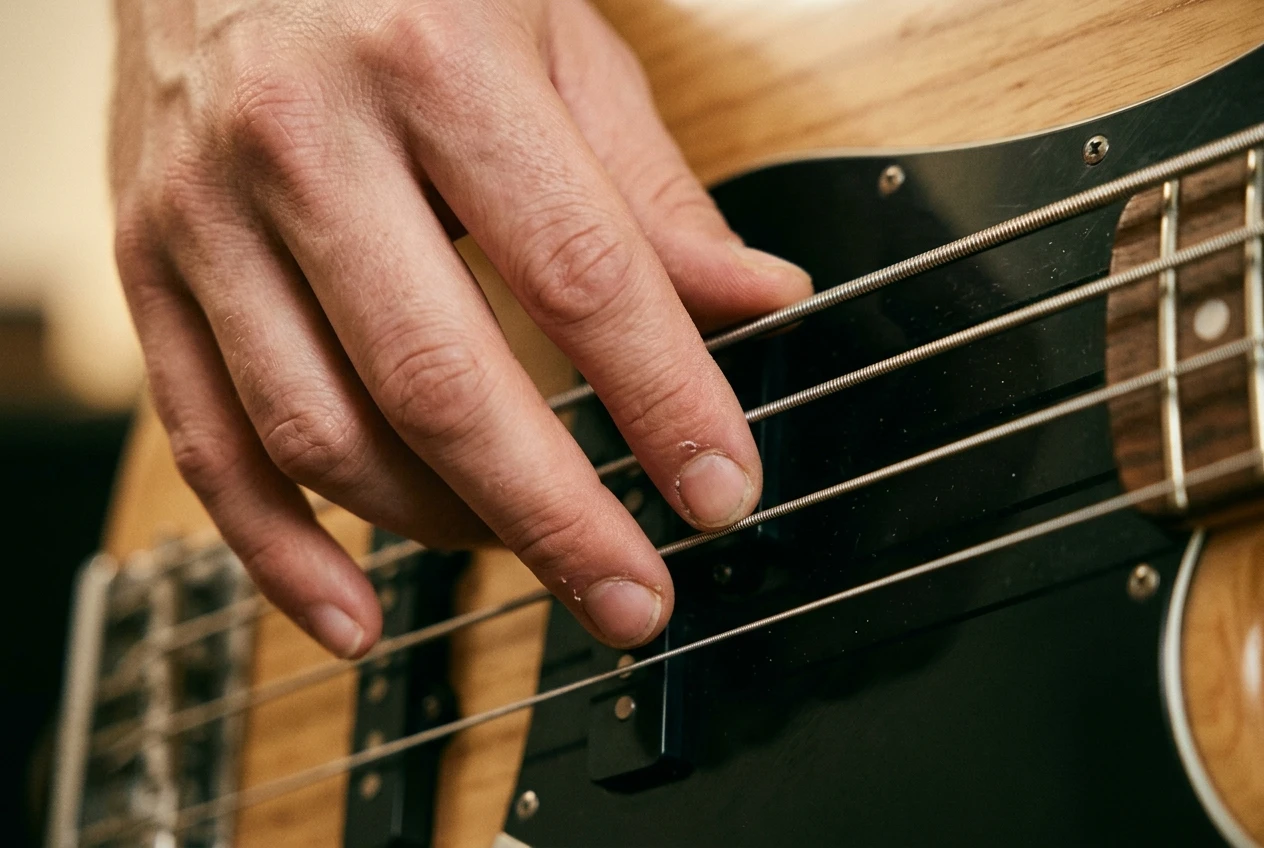
A simple drill: alternate your index and middle fingers plucking a single string for four beats, then move to the adjacent string and continue the same alternation without resetting which finger starts. This forces your hand to track string position rather than relying on always starting with the same finger, which is a crutch many beginners build without noticing.
Once that feels even, add a string skip: play a note on the lowest string, then skip to the third string, keeping the same strict alternation. Skipping a string changes the distance your hand has to travel and exposes any tension that a simple adjacent crossing can hide.
Keep these drills short, around a minute each, and prioritize evenness over speed. An uneven alternation under fast tempo is a habit that is much harder to undo once it sets in than it is to prevent now.
Stretches for Reach Without Straining the Hand
Reach exercises, like spreading your fingers across four frets low on the neck, are useful for building comfort with wider stretches. But they are also where beginners most often push into pain instead of just resistance.
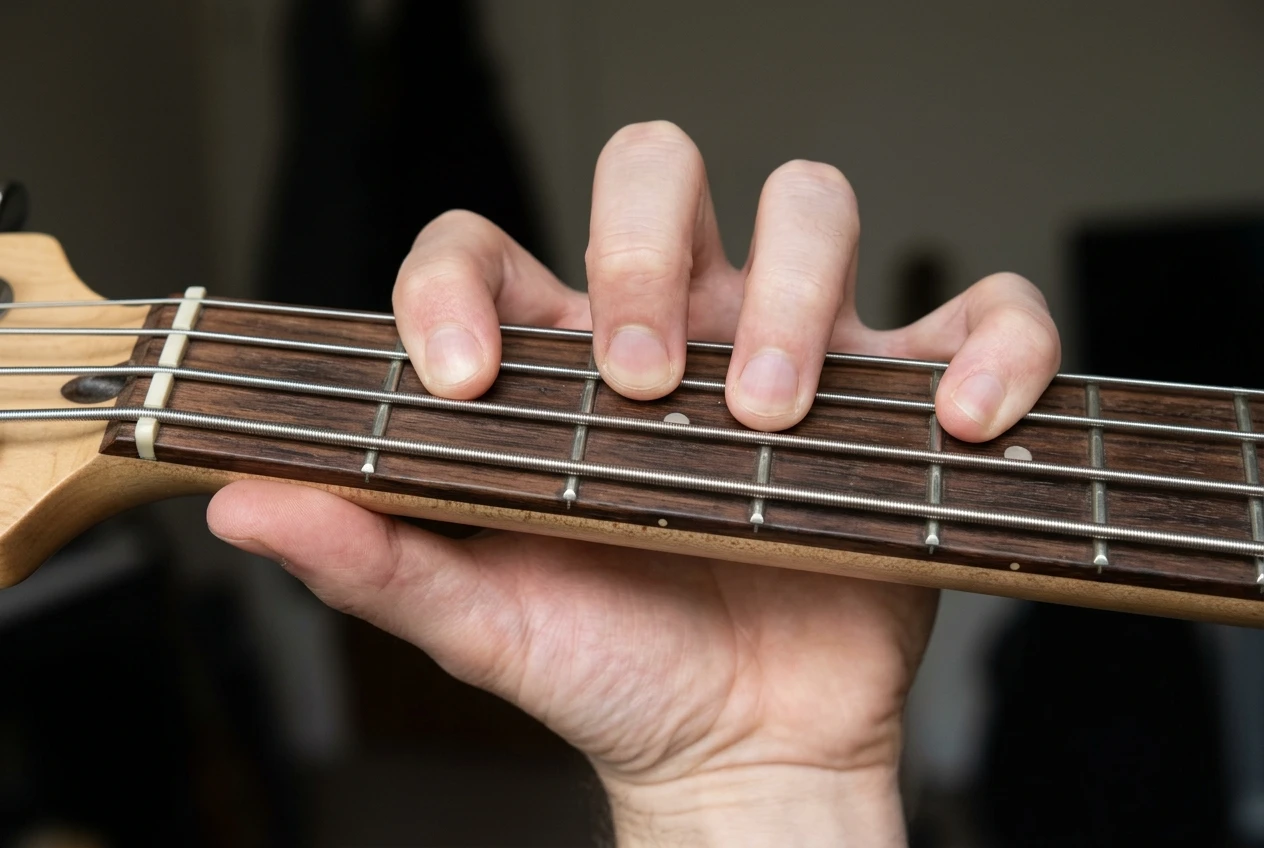
A safe stretch should feel like a pull, similar to stretching a hamstring, not a sharp or pinching sensation in a joint. If you feel that sharpness, you have gone further than your hand is ready for, and continuing will not build flexibility faster. It will just aggravate the tissue.
A few guidelines for safer stretching:
- Stretch after the warm up, never on a cold hand.
- Hold a stretch for ten to fifteen seconds rather than bouncing in and out of it.
- Favor stretches lower on the neck first, where the frets are wider apart, and only move toward the narrower upper frets once the wider stretch feels comfortable.
- Stop immediately if a stretch produces pain that lingers after you release it.
Reach will increase naturally as your hand adapts to regular playing. Trying to force it through aggressive stretching is one of the more avoidable ways beginners turn ordinary adjustment into an actual injury.
Normal Burn Versus a Warning Sign You Should Stop
A mild burn in the forearm muscles or a dull tiredness in the fingertips after a session is a normal response to effort, similar to the fatigue you would feel in any muscle after use. It fades within a day and does not come with sharp pain or numbness.
A warning sign looks different. Sharp pain in a joint, a tingling or numb sensation in your fingers, pain that radiates up into the wrist or forearm, or soreness that is still present or worse the next day are all signs that you need to stop and rest, not push through.
The distinction matters because the instinct to treat all hand discomfort as something to work past is exactly how beginners turn manageable fatigue into tendon strain that takes weeks to heal. If you notice a pattern of pain following a specific movement, such as a wide stretch or a particular chord shape, that movement is worth re-examining rather than repeating.
Fitting These Drills Into a Real Practice Block
These drills are not meant to replace your practice time, they are meant to sit at the front of it. A full routine, including the warm up, independence drills, and string crossing work, takes about ten minutes and should come before scales, songs, or anything technically demanding.
A reasonable structure for a beginner practice block looks like this:
- Two minutes of warm up movement
- Three to four minutes of chromatic crawls and spider walks
- Two to three minutes of string crossing drills
- One or two minutes of gentle stretching
- Remaining time on scales, songs, or whatever your current practice goal is
If you are short on time, keep the warm up and cut the drill time rather than skipping the warm up to save a few minutes. A cold, untrained hand jumping straight into fast playing is where most avoidable soreness comes from.
Pair these drills with a metronome so the movements stay even as they get faster: how to use a metronome to build rock solid bass timing.